Now that you have your ‘Colour Cube Starter Set’ PDF…
LET’S GET STARTED!
There are six different BreakThroughColour Colour Cubes in the DIY Starter Set collection…
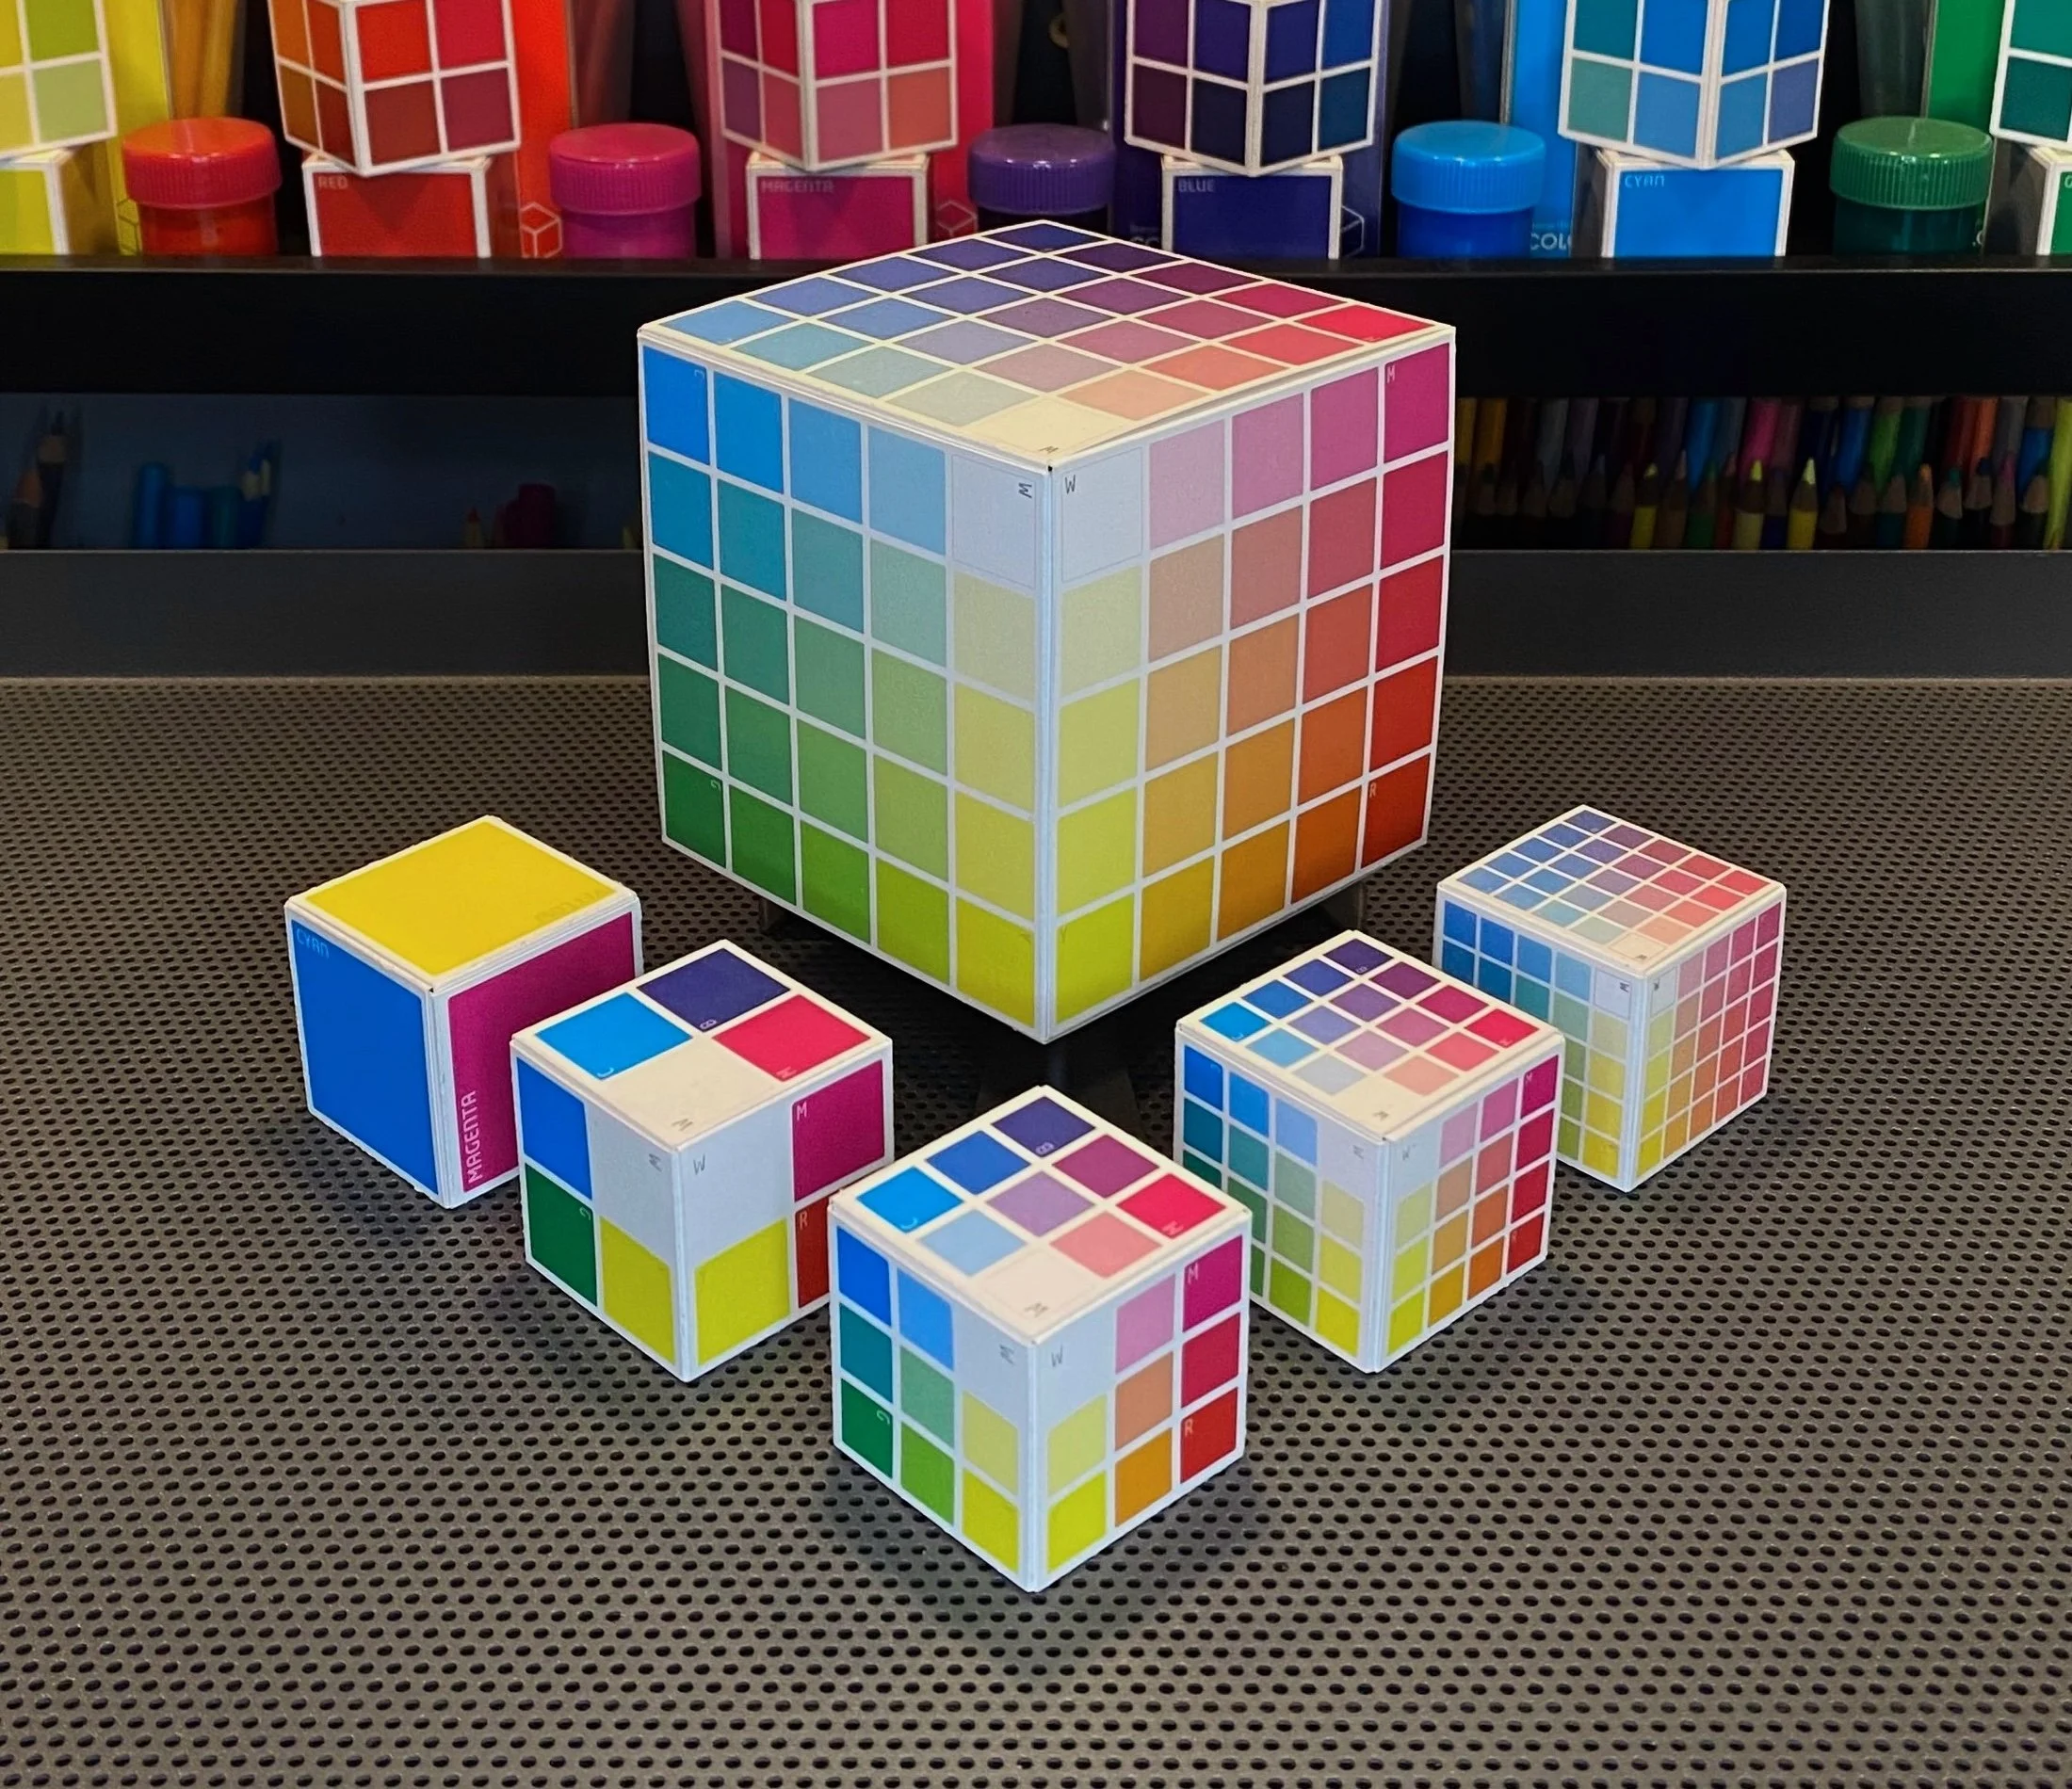
There are five Mini Cubes (from left to right):
the ‘Hue+Cube’ MINI HUBE
the ‘nothin’ but corners’ MINI CORNER CUBE
the ‘power of 3’ MINI BASICS CUBE
the ‘8x8’ MINI SUPER 8 CUBE
the biggest little Mini of all, the MINIBOOSTED CUBE
And, the star of the show at the centre:
the full-size BOOSTED CUBE
…because really, when you want to feature almost 100 Hues, Tints, and Shades, that little Mini needs a boost!
Right now, all you have is a digital file.
But this web page will guide you through all the steps you need to turn that file into a FUN-damental Colour Cube collection just like the one featured in the photo above.
When you’re making DIY Colour Cubes (and then learning how to use them), the best place to start is with The Hube.
Not only is The Hube a simple tool, it's a simple tool to make.
Wanna make one?
Here’s what you need…
the ‘Colour Cube Starter Set’ PDF
a colour printer
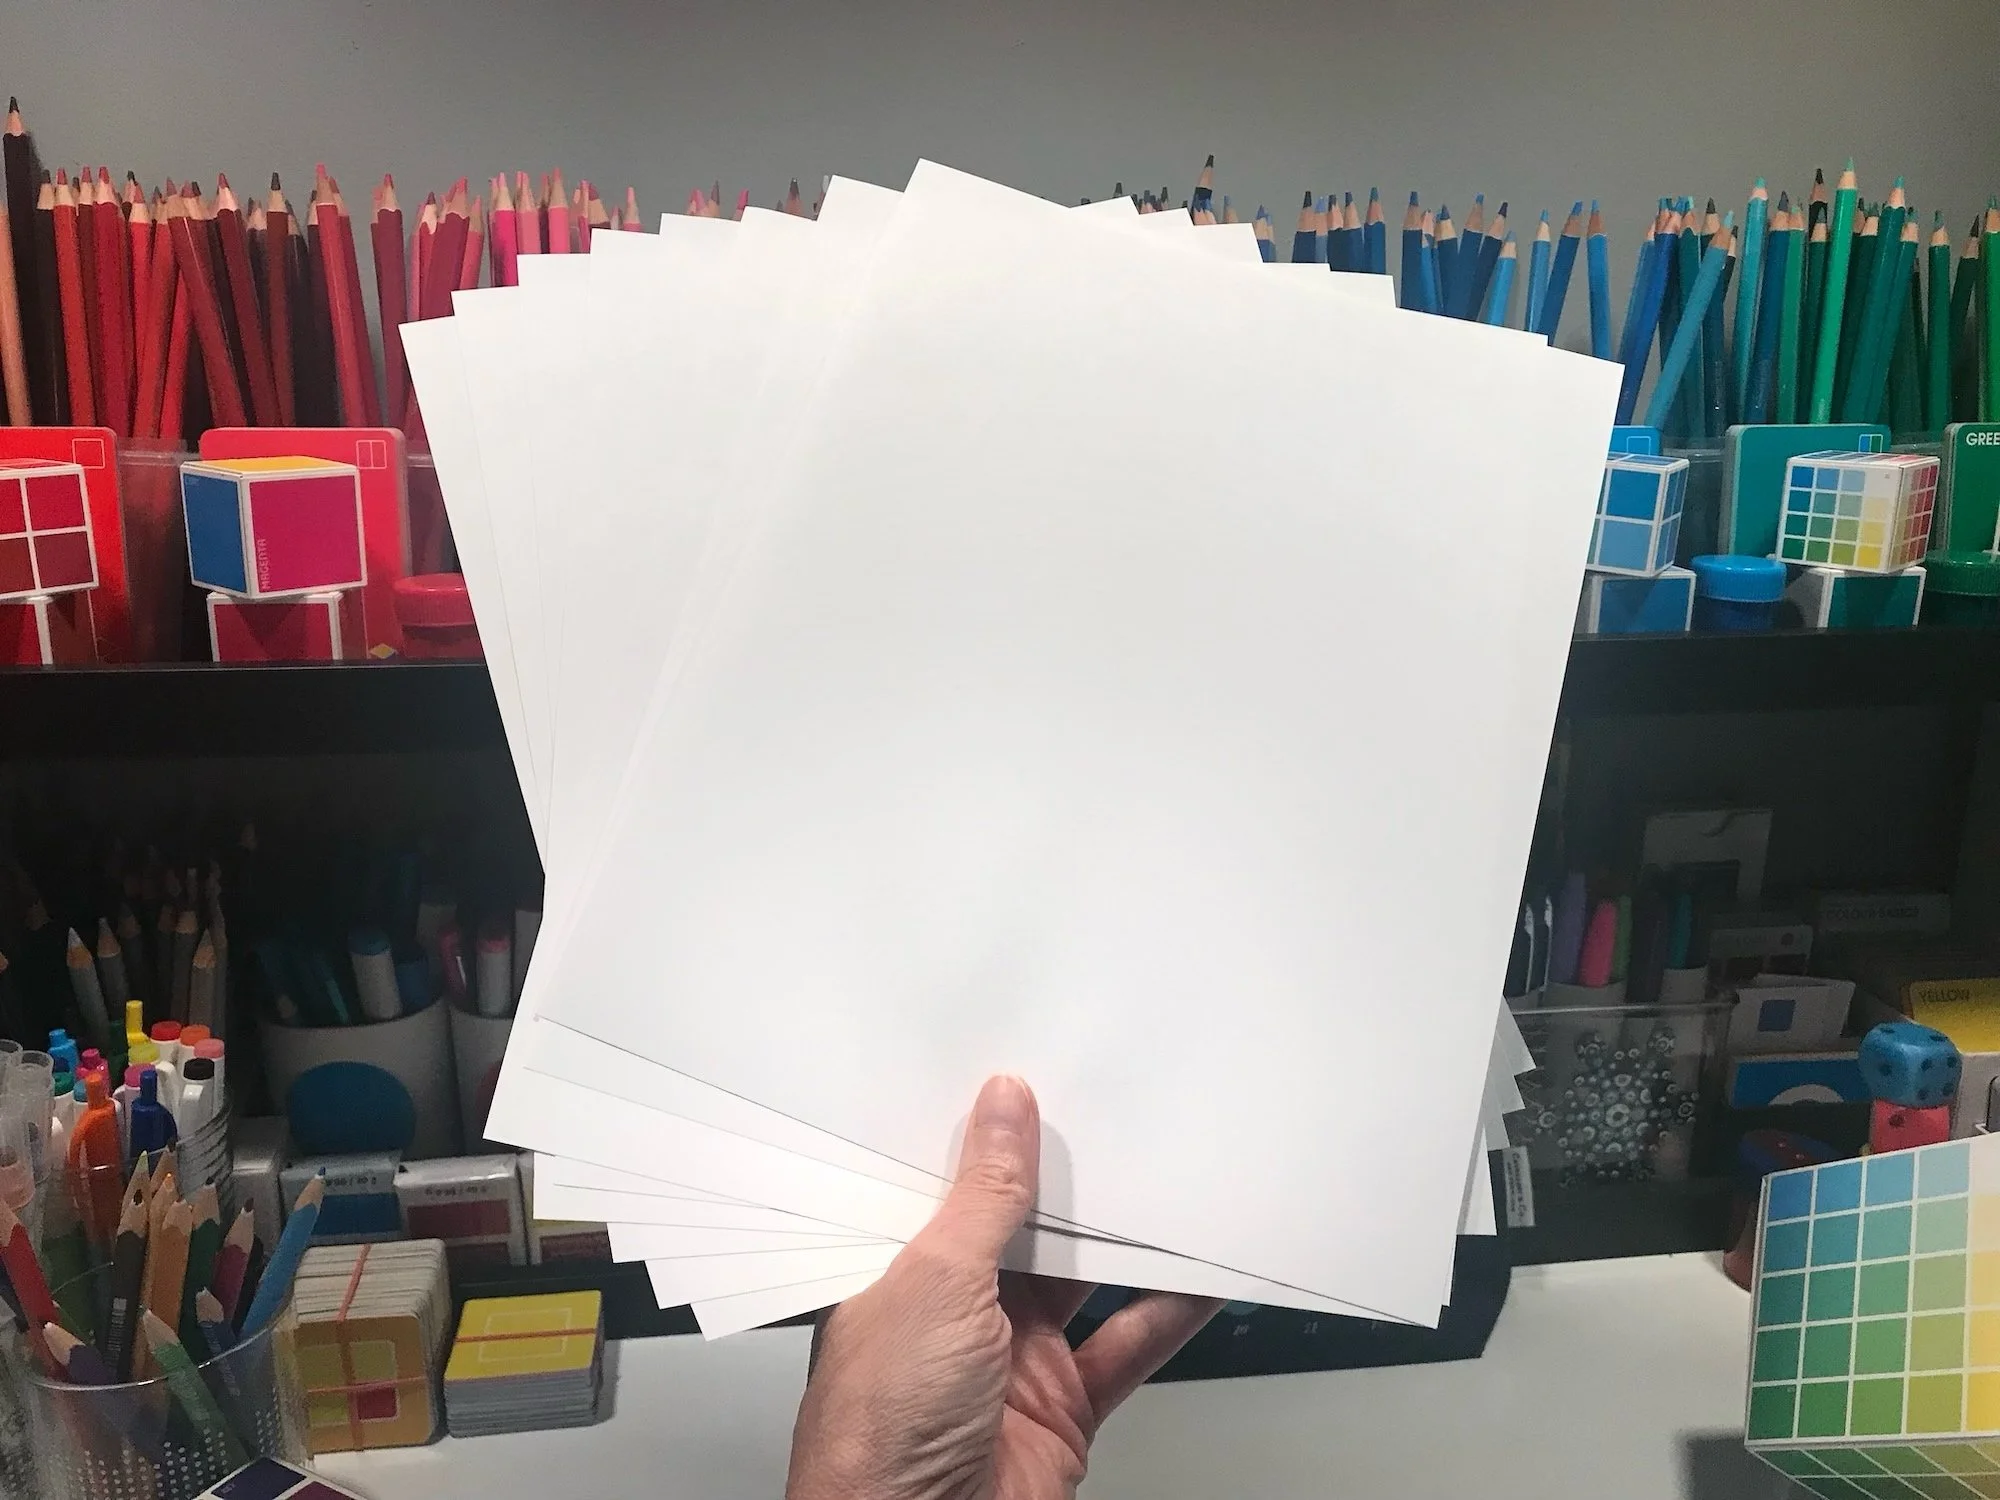
8 sheets of plain white paper (one sheet for each of the five Mini Cubes, and three sheets for the full-sized Boosted Cube)
a self-healing cutting mat
a metal ruler with a non-slip backing
a fine-tipped ball stylus
an X-acto or craft knife with a #11 blade
HERE’S HOW YOU DO IT…
These little Mini Cubes may be new to you, but they’ve been in my workspace for more than ten years, and they had their debut in 2020 as a DIY project inside my online school, The BTC Colour Academy.
Here’s the video I made for my students showing how to build that very first 3D Colour Cube. The printed page we worked from then looks a little different than the one you have now, but the journey and destination are the same.
Seeing the process from flat to form will help you make your own DIY Cube before you actually Do It Yourself.
Take a look…
Now that you’ve seen me build my Mini Hube, it’s your turn.
If watching this video is enough, off you go! I’ll see you at the bottom of this web page.
If you want to go a little deeper and get all the details before you Do It, I got you…
HERE ARE THE STEPS…
Here are step-by-step instructions, video highlights, and some extra tips to help you navigate your way through the Colour Cube construction zone…
STEP 1 :: PRINT YOUR PAGES
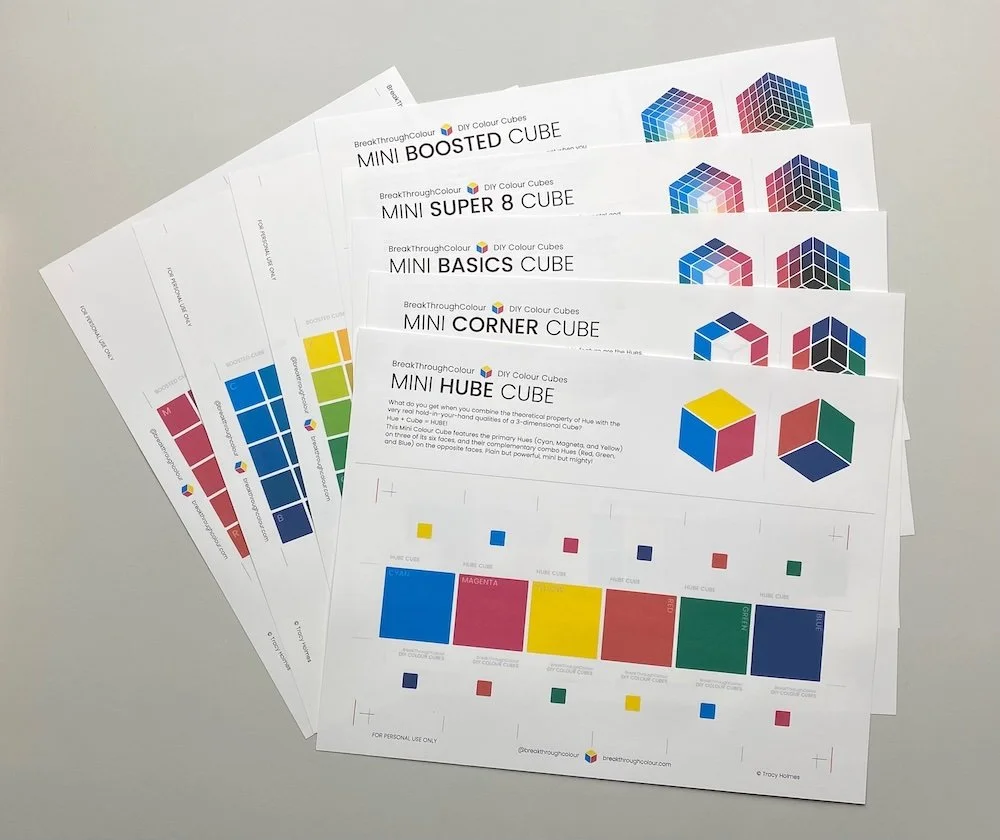
Before you can make your Cube, you need to print the PDF.
To ensure the truest colours, use plain white paper with a high brightness.
Heavier paper (28-32 lb or 105-120 gm/m²) will give you a sturdier Cube.
But it should be paper or cover stock, not card stock.
I know, this seems counterintuitive because card stock is more rigid. But the fold-ability of paper gives you cleaner edges and crisper corners; the paper is thin enough to almost disappear when you tuck the flaps in; and because of how this model is designed (with two full-sized flaps supporting each face, each one perpendicular to its neighbours), it’s surprisingly robust.
STEP 2 :: split THE page
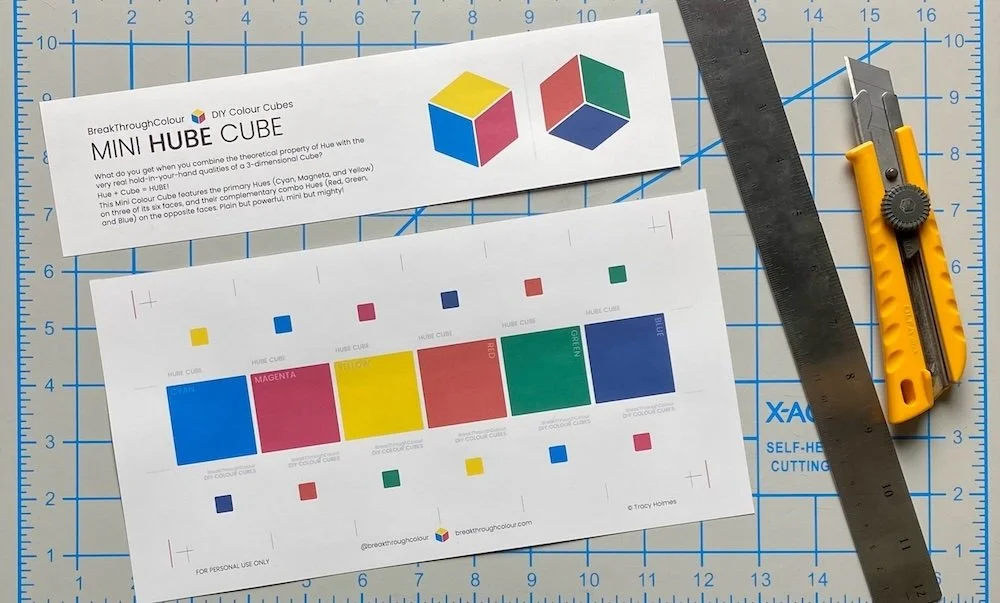
Once you have the PDF printed, cut along the full-width horizontal line to split each Mini Cube page into two parts.
Set aside and save the top part as a reference.
The bottom part contains the panels you’ll use to make each Mini Cube.
STEP 3 :: SCORE the fold lines
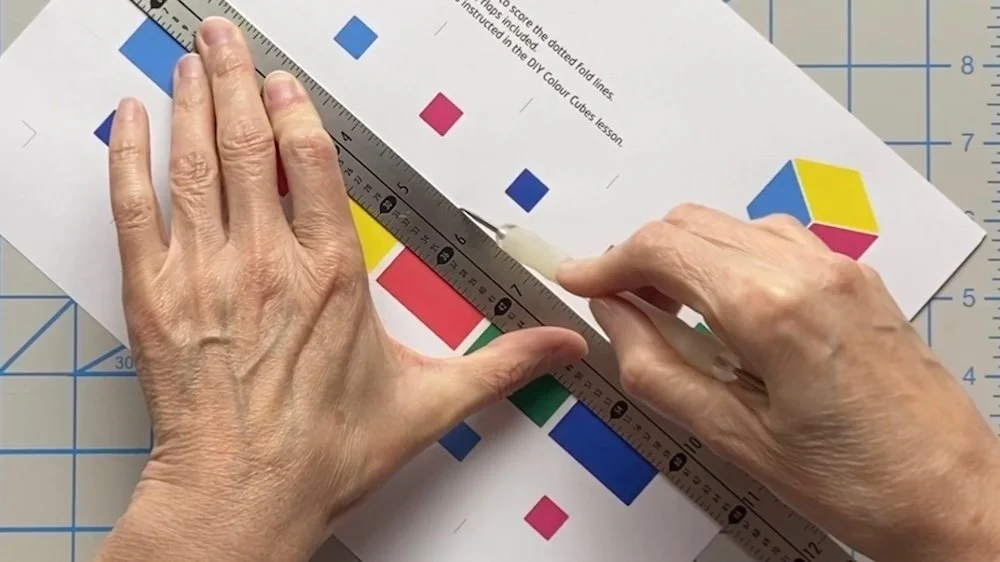
Use a ruler and a ball stylus to connect the dotted horizontal line markers and score the fold lines right above and below the six Cube faces.
Take your time to score these lines in the right spot, parallel to the top and bottom edges of the colours on the faces. Well-placed fold lines will give you a well-aligned build.
STEP 4 :: CUT the panel ENDS
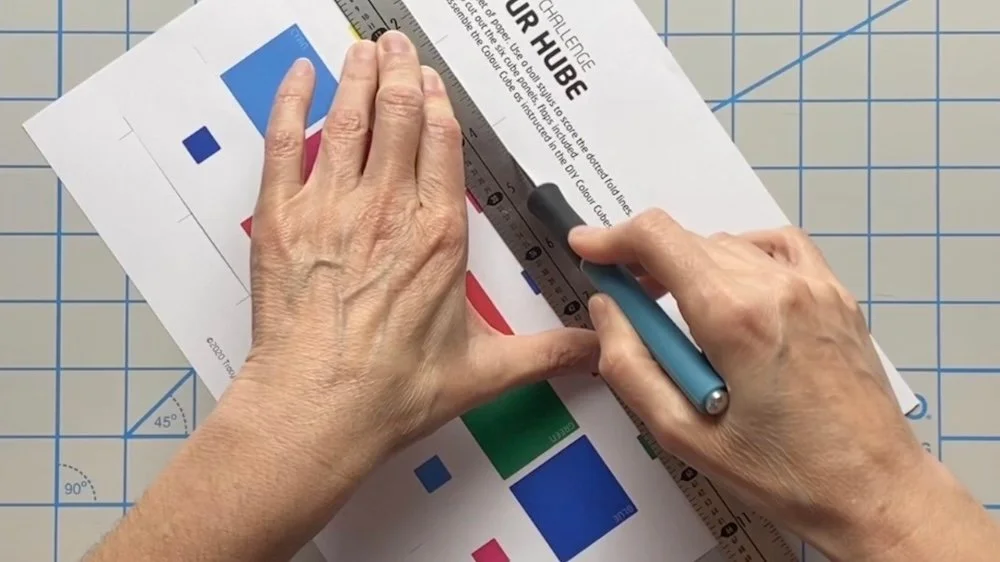
Use a ruler and a craft knife to connect the solid horizontal line markers and cut the ends of the panels at the top and bottom.
Take your time to cut these lines in the right spot. Even though these panel flaps will be hidden inside your Cube, they give each face two extra layers of support, so we don’t want that support to fall short.
Don’t cut past the red ‘stop’ lines at the ends. This will keep your panels in place on the page for the next step.
STEP 5 :: CUT the panel EDGES
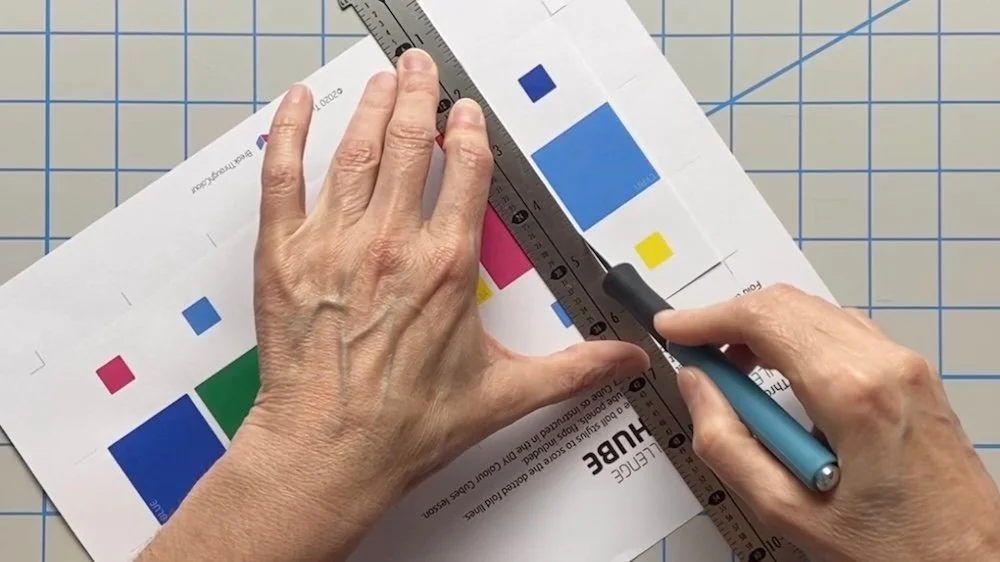
Use a ruler and a craft knife to connect the solid vertical line markers and cut the edges of each panel.
These vertical cuts are the most important cuts, because each cut defines two panel edges. Take extra time to cut these lines in the right spot, parallel to the edges of the colours on the faces.
BTW, if you don’t have a craft knife, you can also use a ruler and pencil to connect the guide lines with a faint line, and then make the cuts with sharp scissors.
And remember, if your first round of scoring and cutting doesn’t go as well as you’d hoped, don’t stress. Just go back to Step 1 and print a new page.
Once you have all six panels scored and cut, you’re ready to start the build.
STEP 6 :: FOLD the flaps
Use the scored fold lines to fold the flaps on each panel back behind the face.
Give each fold a crisp crease, and then open the flaps to 90º.
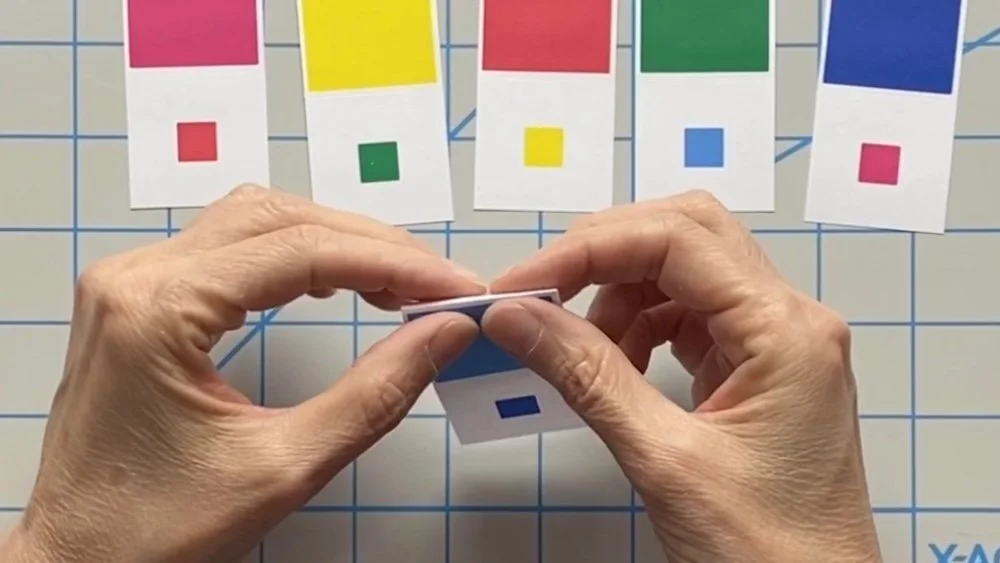
STEP 7 :: MATCH THE PANELS
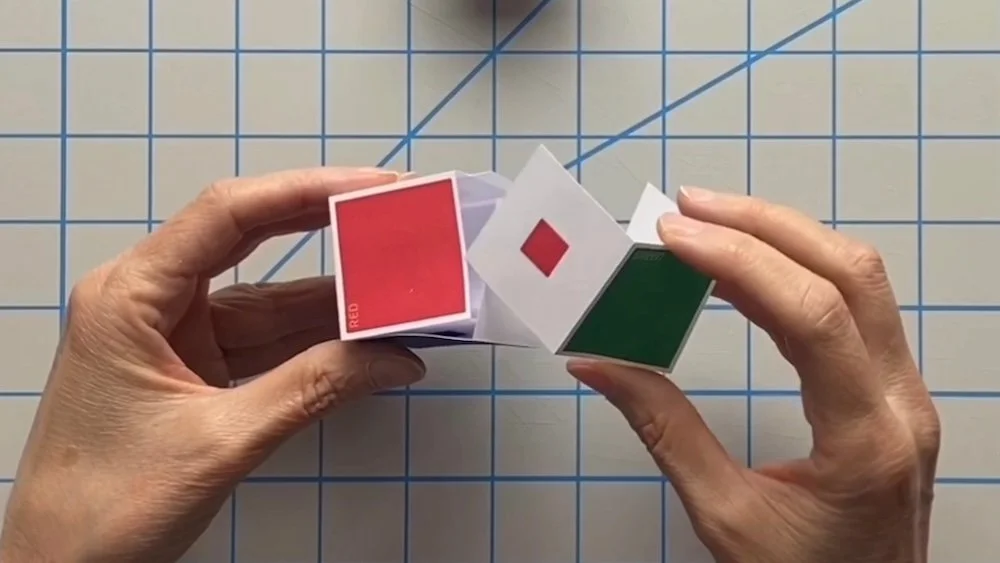
To make sure all the Hube’s Hues are in the right places, match the mini colour squares on each flap with the Hues on the faces.
For the other Mini Cubes, you’ll match the colours along the edges of each colour grid.
You can also refer to the ‘flat view’ versions of each Cube that are included at the top of each Mini Cube PDF page, to make sure your panel faces are arranged in the right places, relative to one another.
STEP 8 :: TUCK THE FLAPS
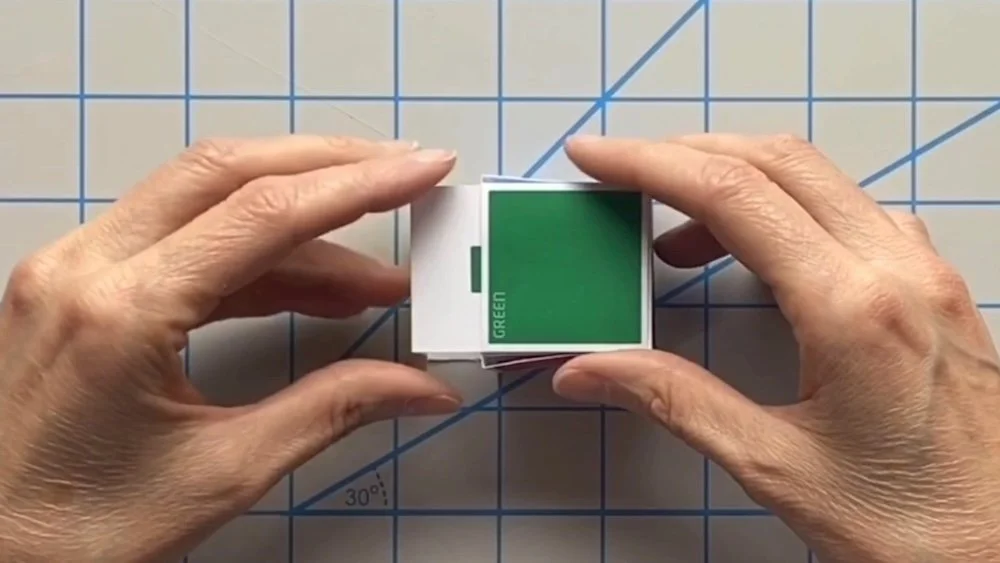
Place the face of each panel over the flaps of its neighbour panels and tuck the flaps behind the faces as you go.
This can feel a little finicky at first, but if your scored fold lines and edge cut lines are in the right places, the panels should come together cleanly (and remember, if they don’t, notice where you went on track, print the page again, and give it a second try).
Once all the flaps are tucked in snugly, your first Mini Colour Cube is complete!
Repeat these steps with the next four pages of your printed PDF, until you have all five Mini Cubes finished.
STEP 9 :: GIVE YOUR MINIS A BOOST!
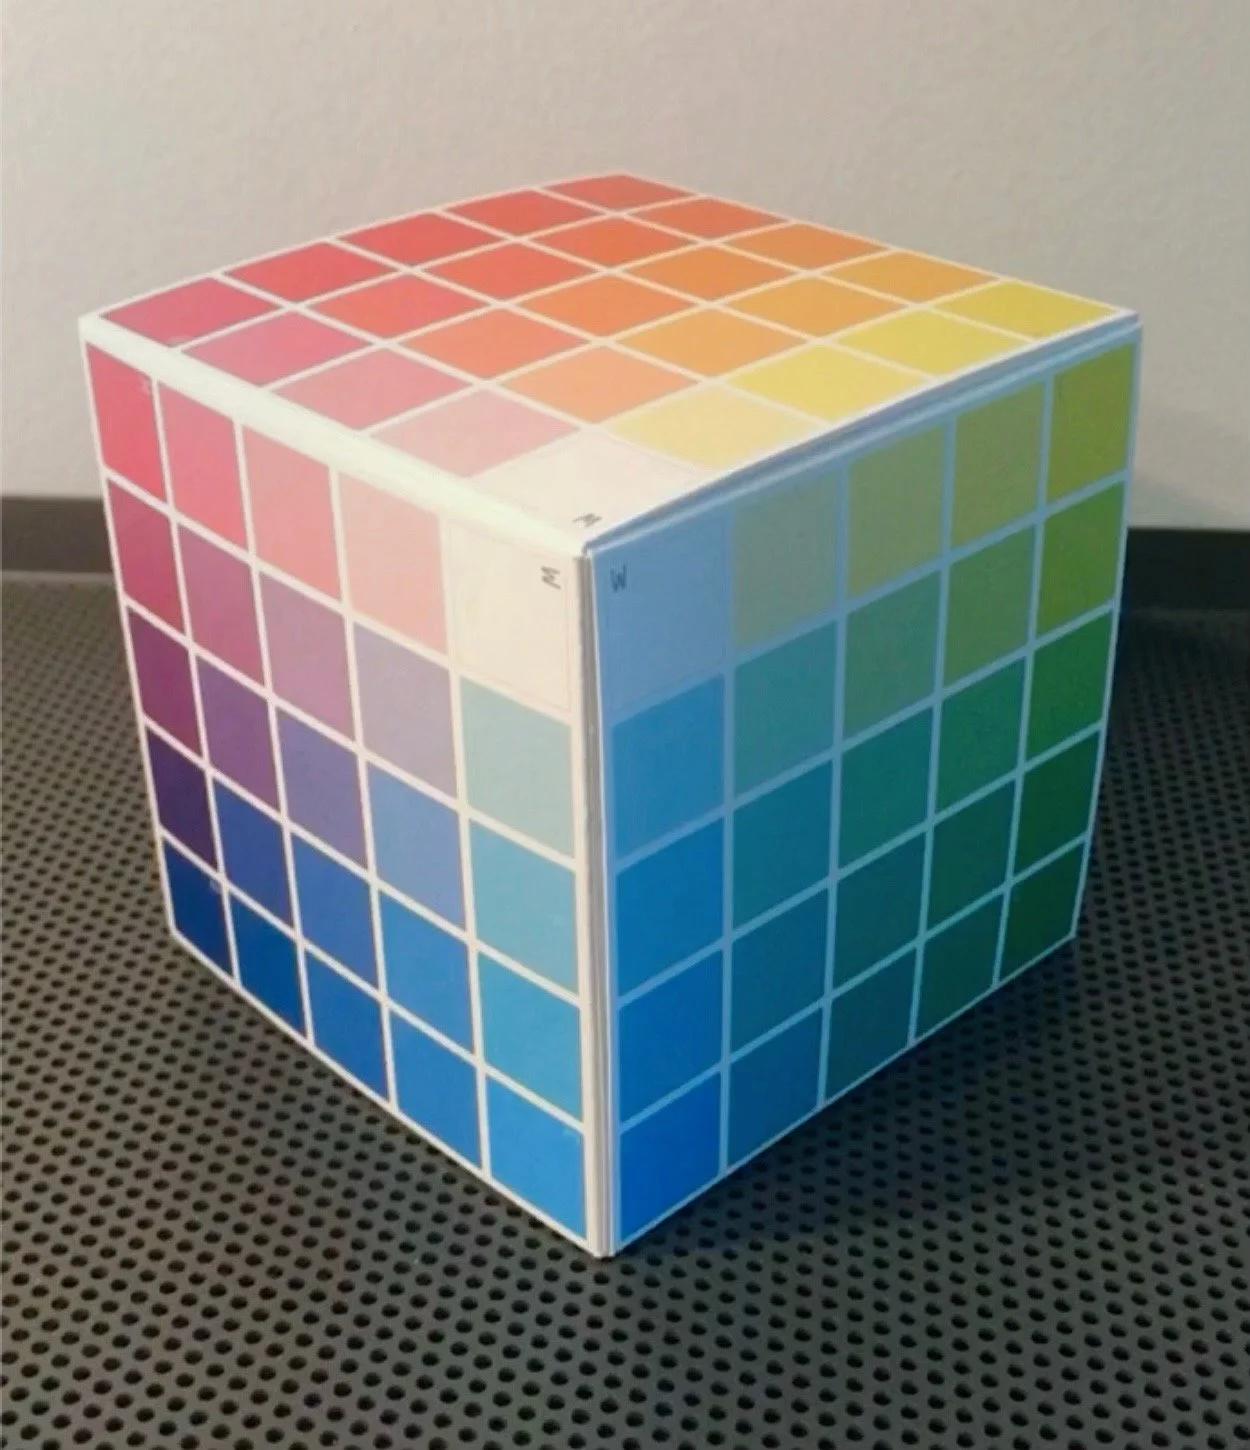
CLICK THE IMAGE TO SEE ME BUILD THIS ⬆️ BOOSTED COLOUR CUBE
The full-sized Boosted Cube has bigger panels, so they are printed on three different pages with two panels per page.
Use the same basic steps to turn these 3 flat pages into one big 3D Cube.
Connect the dotted lines to score the folds.
Connect the solid lines to cut the panel edges.
Since the flaps span to the edge of the sheet, you don’t have the cut the panel ends.
Use the scored fold lines to fold the flaps.
Use the colours along the edges of each colour grid to match the panels.
Tuck the flaps behind the faces.
Once all the full-sized flaps are tucked in snugly, your Boosted Colour Cube is complete!
CONGRATULATIONS! YOUR STARTER SET IS FINISHED!
What do you think?
I hope you had fun making one, some, or all of these Colour Cubes.
I’d love to hear how it went for you!
Send me an email and let me know.
You should be proud, so display them proudly on your work table, on a studio shelf… or in a photo!
I’d love to see your completed collection!
Send me a photo and I’ll share it with others (here on this website, via email, or on my Instagram). Focus on your favourite, pick a top 3, show ‘em off in your studio, or take a ‘Starter Set’ selfie!
If you post any pics in your social places, please tag me @breakthroughcolour.
And if you’d like to share news about this Colour Cube Starter Set with others, please do that by sharing the link to my Colour Cube Starter Set so I can follow up with them directly, sharing more info and insight about these custom colour tools.
And speaking of following up…
YOUR BREAKTHROUGH IS JUST GETTING STARTED…
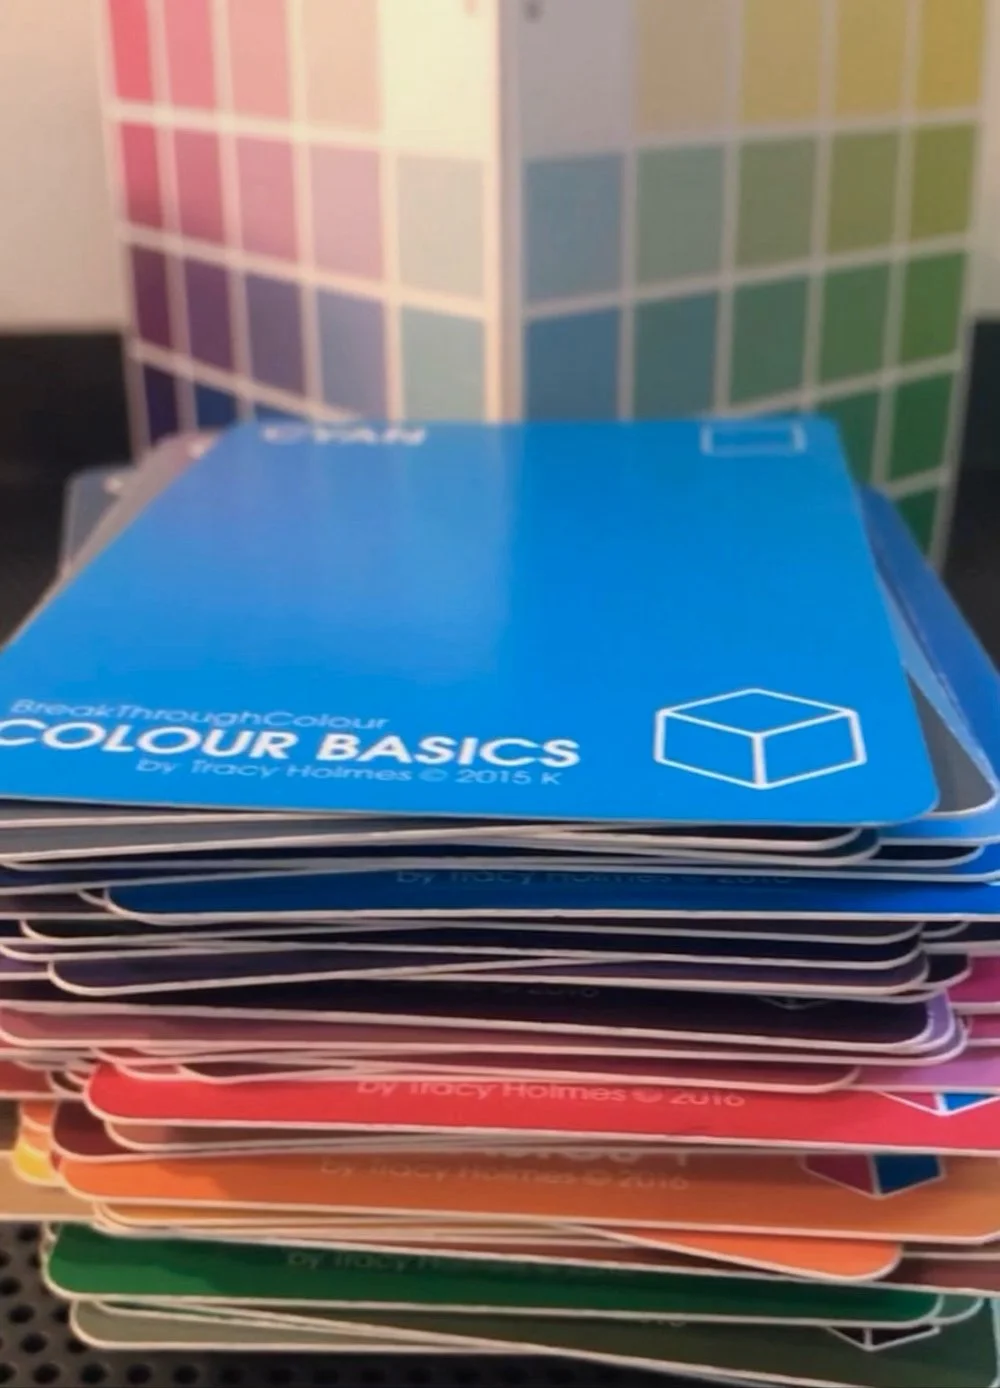
CLICK THIS IMAGE ⬆️ TO SEE HOW THE BOOSTED DECK STACKS UP
Keep an eye on your In Box.
Now that we’re connected via this fun little Starter Set, I look forward to staying in touch.
BTC Colour Cubes are more than just pretty faces.
They tell you where the colours are in every 3D colour space. But the more you understand the XYZ of a BTC CMY Colour Cube, the more you’ll be able to decipher the dimensions, discern what each colour is, why it is, and how you can use it, by itself or in combos, to increase your Hue ‘eye Q’ and deepen your colour confidence, in work or play, every day.
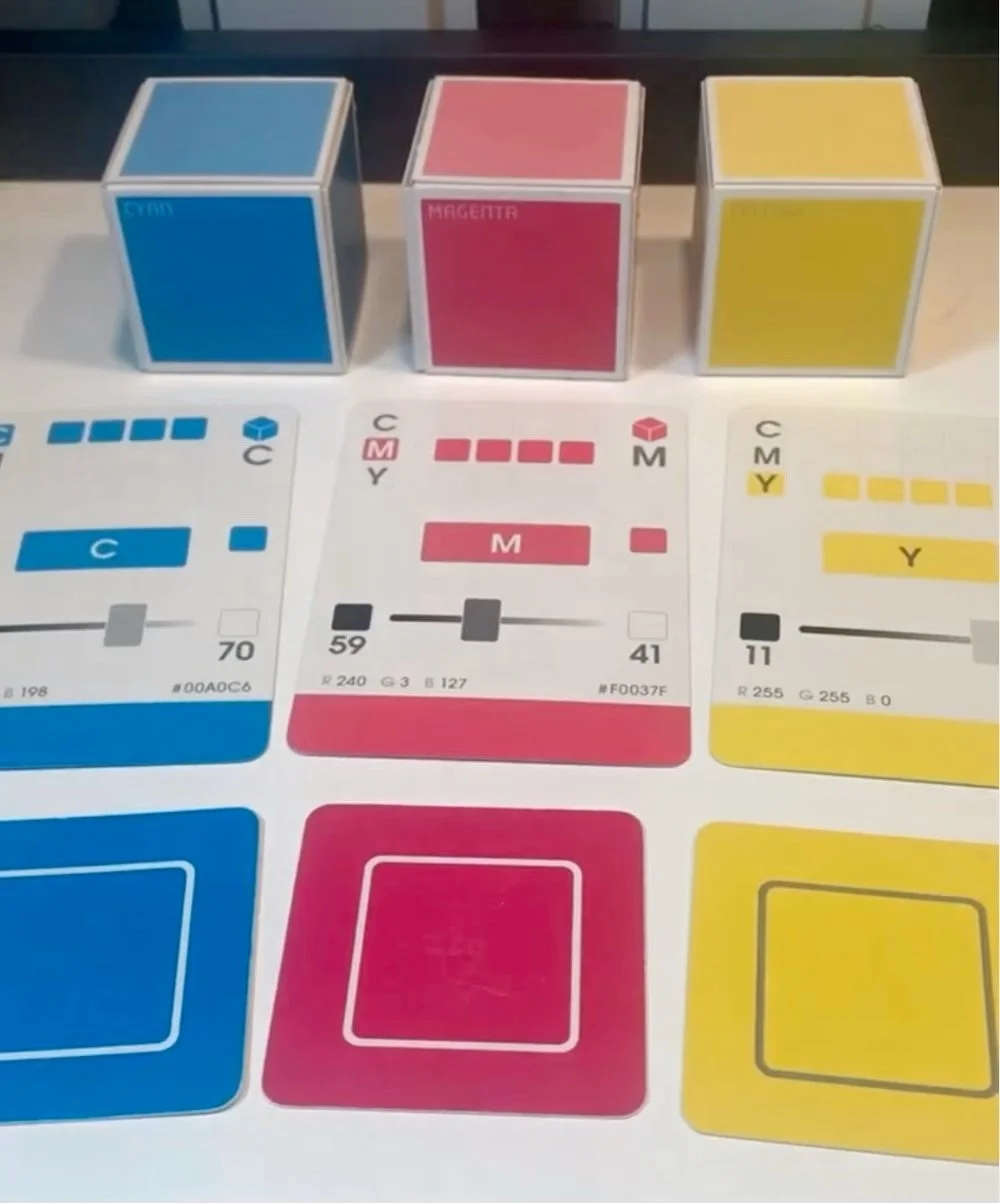
You can also enhance the experience with other interactive tools, including the full spectrum of BreakThroughColour Colour Cards that complement every Cube (see what I did there?).
Colour it its place, and colour on the move... you can’t do that with a colour wheel.
THANKS AGAIN FOR PLAYING ALONG
If you have questions, comments, or feedback about the Colour Cube Starter Set, please get in touch.
If you’re stuck, I’m here to un-stick you. And getting your feedback about your challenges will help me make this resource even better for future Starter Set starters.
If you’re ready to move forward and explore more breakthrough tools and training, let me know where you want to go next.
I’ll also keep you posted on upcoming projects, learning opportunities, community events, and Colour Card print runs.
There are 400 different colours in the BTC gamut, and I’ve got Cubes, Cards, and Codes for every one of them.
And if you just want to reach out, check in, and celebrate our common love of colour, BTC and beyond, I’d love to hear from you.